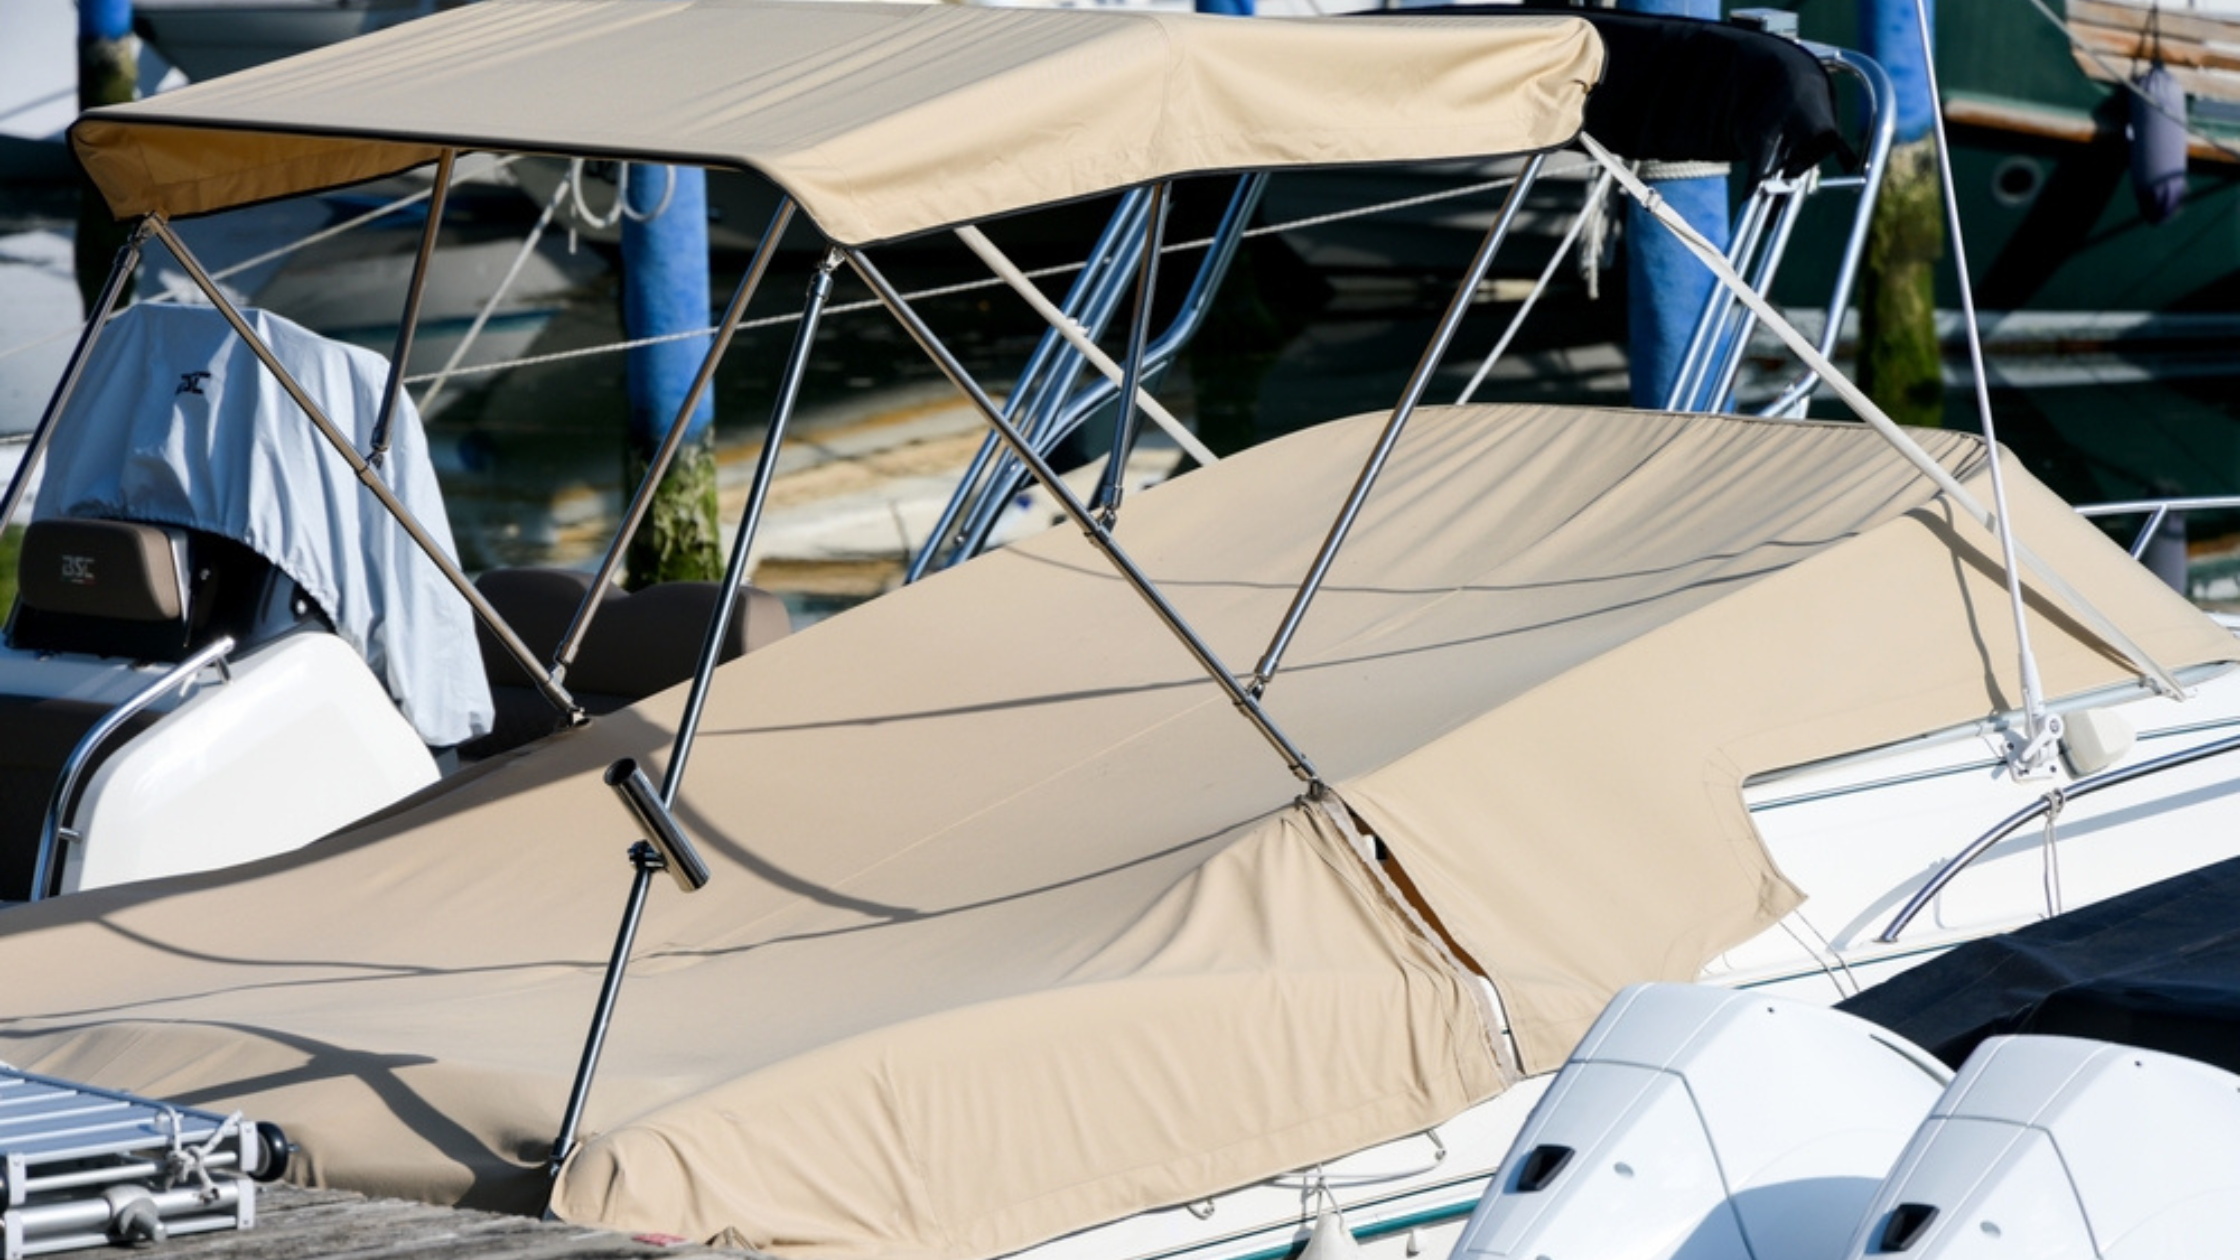
Dodgers, Biminis, and soft tops provide protection from the elements and add to the overall aesthetics of the boat. This canvas work (whether a woven acrylic fabric or a vinyl coated polyester like vinyl) is often an expensive custom-made addition and it’s not a “set it and forget it” proposition. Periodic maintenance and repair will help it last longer and look better.

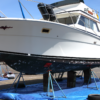
Motorboat with blue canvas cover | rejazz on Shutterstock
Cleaning
Keep canvas clean and dry. Brush off any loose dirt and wash thoroughly with a mild soap like dishwashing liquid and warm water. Rinse thoroughly taking care to not let the soap dry on the material. Wash down all parts of your canvas structure with fresh water even if your trip was short. Use plenty of water because it can take a while to break down harmful salt crystals.
Don’t put canvas in a dryer and don’t dry clean it or you’ll disrupt some of its added properties such as UV inhibitors and waterproofing. For tough stains on acrylic fabric, mix ¼ cup of non-chlorine bleach in a gallon of water and use a soft bristle brush. Never use a pressure washer or a steam cleaner.
Mildew minimization
Ventilation is necessary because dark airless environments grow mold and mildew. Provide as much air circulation as possible by adding vents to your tarp or cover. Clean mildew with a solution of 50% water and 50% white vinegar in a spray bottle.
Waterproofing
Re-waterproof fabric every 2-4 years using products recommended by marine canvas manufacturers. Clean and dry the canvas, then test to make sure the coating you’re using will not alter the color. Apply two separate coats but don’t overspray or drench the canvas. Don’t use silicone-based agents on acrylic canvas as they are incompatible with products containing a fluorocarbon treatment. Vinyl doesn’t usually need any added water repellent.
Storing
If you remove your canvas for storage, clean and dry it thoroughly and store pieces flat with towels or paper between layers. Don’t fold vinyl sides or polycarbonate windows. This is the perfect time to polish up the supporting stainless to get rid of rust and any corrosion at contact points both of which can stain canvas.
Don’t forget to care for the windows (or “the clear” as it’s called) as well as hardware like zippers and snaps. Contact the manufacturer to ensure you’re using the right cleaners, waterproofing agents and polishes, or you can void your product warranty, discolor the fabric or even damage the surfaces beyond repair.
The Clear
Canvas windows are usually made of flexible clear vinyl or more rigid polycarbonate glass. Clean these with water and never use ammonia-based cleaners like Windex. Read the manufacturer’s directions to preserve the material’s warranty. Don’t use paper towels as they are abrasive and impregnated with chemicals that leave streaks.
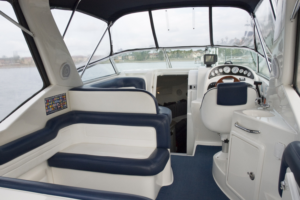
Interior view of canvas with windows and snaps | Image Supply on Shutterstock
Zippers and snaps
Flush zippers with plenty of fresh water to clear them of salt and dirt and work them back and forth every six weeks. Lubricate both zippers and snaps every few months with a silicone spray or a Teflon gel. In a pinch, use ChapStick. Don’t use petroleum products such as Vaseline that attract dirt and can stain.
Canvas Repair
Sometimes, even with the best of care, canvas, zippers, snaps and windows may fail. Don’t wait for a small tear to become a big problem. Most long-term repairs will involve a professional canvas fabricator but here are some tips for DIY repair.
Hand-sewing canvas requires heavy-duty needles and a sewing palm. It’s important to use mildew-resistant thread which is more durable and will reduce staining of the surrounding canvas. Thicker thread will require bigger needles which will make larger holes in the canvas and if your existing canvas is already weather-beaten, it may not support sizeable punctures before it tears further.
Larger sewing jobs (like seam repair or sewing in a new zipper or clear panel) may require an industrial sewing machine that most boaters don’t have so find a marine canvas fabricator.
When sewing isn’t an option, gluing on a patch can become a temporary or even semi-permanent solution. Acid-free glue and another piece of canvas can be used to cover up a small tear. Packaged adhesive patches are also an option or the manufacturer of your brand of canvas may offer recommendations. Patches not made for marine-grade fabrics may discolor the fabric or may not hold for long.
When replacing a snap or grommet, you may need to patch or reinforce the area of canvas before applying the new hardware. Polyurethane adhesives may be useful to attach grommets and snaps.
Manage the amount of sunlight your canvas is exposed to by turning the boat around in its slip if one side gets more sun or parking the boat and trailer at a different angle to the sun.
Caring for your canvas will add years to the life of any enclosure as well as to the value of the boat. Care for it regularly and repair if you must but don’t ignore your structures because they’re indispensable and a big part of your boating investment.